Overview
As you prepare for your final walkthrough before closing, it’s essential to focus on a few key steps.
- Verify the property’s condition.
- Confirm which items are included.
- Evaluate any agreed-upon repairs.
We know how challenging this can be, and thorough preparation is crucial. A systematic inspection will help ensure the property meets your expectations. This process also allows you to address any issues that may arise, ultimately safeguarding your investment. Remember, we’re here to support you every step of the way.
Introduction
Before sealing the deal on your new home, the final walkthrough serves as a vital checkpoint for you, ensuring that your investment meets your expectations. This important moment not only allows for a thorough inspection of the property but also provides an opportunity to confirm that all agreed-upon repairs and inclusions are in place.
However, we know how challenging it can be if unexpected issues arise during this last inspection. Navigating the final walkthrough may feel daunting, but understanding its significance and preparing effectively can truly make all the difference in achieving peace of mind before closing.
We’re here to support you every step of the way.
Understand the Purpose of a Final Walkthrough
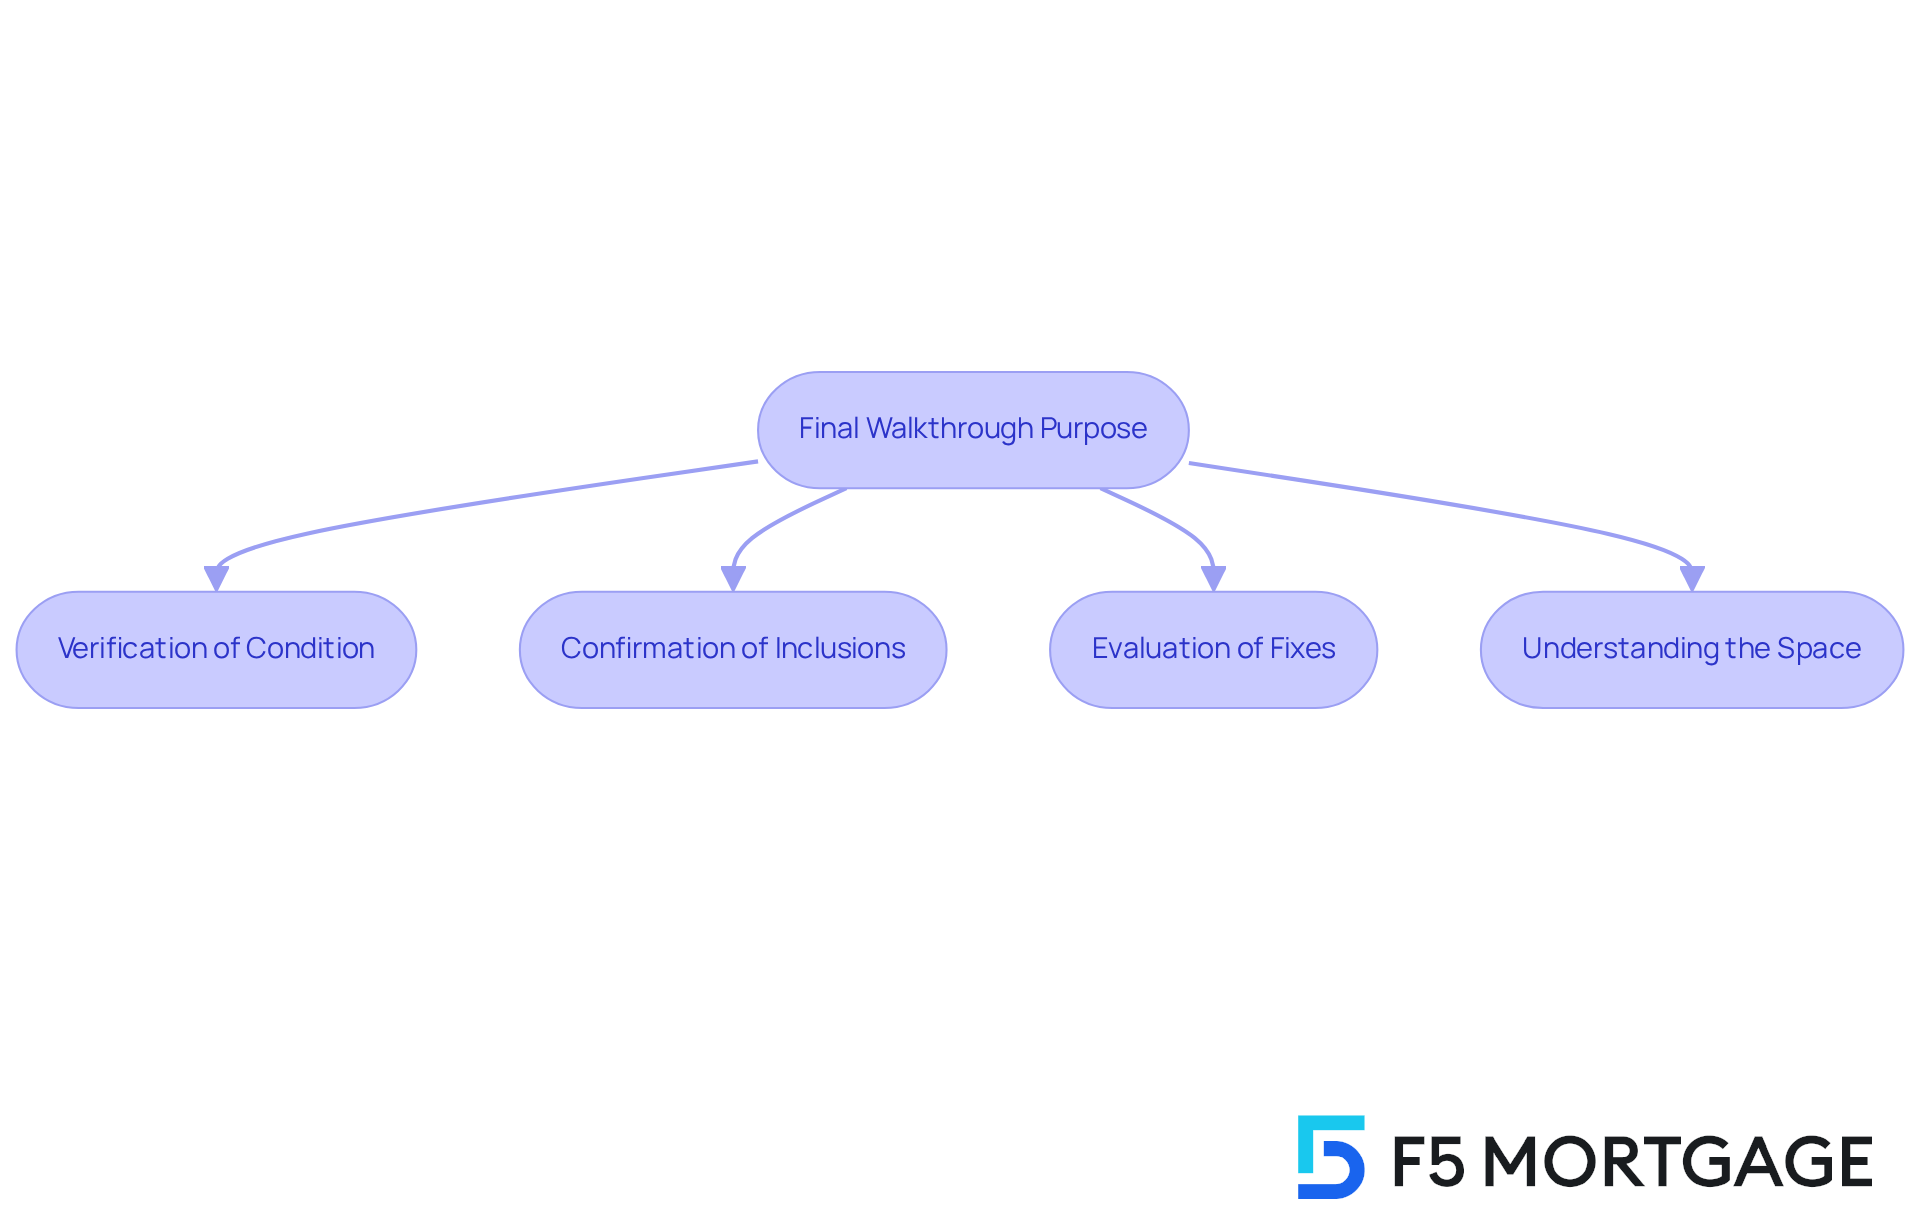
The final walkthrough before closing is your last opportunity to evaluate the property before finalizing the agreement, which is usually scheduled within 24 hours of the closing date. This step serves several essential purposes:
Verification of Condition: This step ensures that the home is in the same condition as when you made your offer. It’s essential to inspect for any harm or fixes that were guaranteed by the vendor. We know how challenging this can be, but according to industry standards, buyers are entitled to confirm that the property meets their expectations before finalizing the sale.
Confirmation of Inclusions: During the walkthrough, verify that all agreed-upon items, such as appliances or fixtures, are still present in the home. This is a vital step to ensure that nothing has been removed or altered since your last visit.
Evaluation of Fixes: If the vendor consented to undertake improvements, this is your opportunity to verify that they have been accomplished satisfactorily. Providing documentation, including the vendor’s disclosure and maintenance receipts, can help guarantee that all agreed-upon fixes have been carried out correctly. Remember, it’s common for buyers to ask sellers to complete repairs as a contingency for purchasing the house, which can also influence the overall purchase price.
Understanding the Space: Familiarize yourself with the layout and features of your new home. This concluding inspection enables you to confirm that everything aligns with your expectations and assists you in envisioning your new living area.
The last inspection is an essential phase in the home purchasing procedure. A substantial percentage of homebuyers conduct a final walkthrough before closing to protect their investment and guarantee peace of mind. As noted by real estate professionals, this step is essential to confirm that the home is in the same condition as when the offer was made. Although it is not required for the home to be entirely vacant during the concluding inspection, it is advisable for sellers to have completely relocated, reducing the chance of overlooking any problems caused by barriers. By approaching your last inspection with a clear focus and checklist in mind, you can facilitate a smooth transition into homeownership.
Prepare for Your Final Walkthrough: Essential Steps
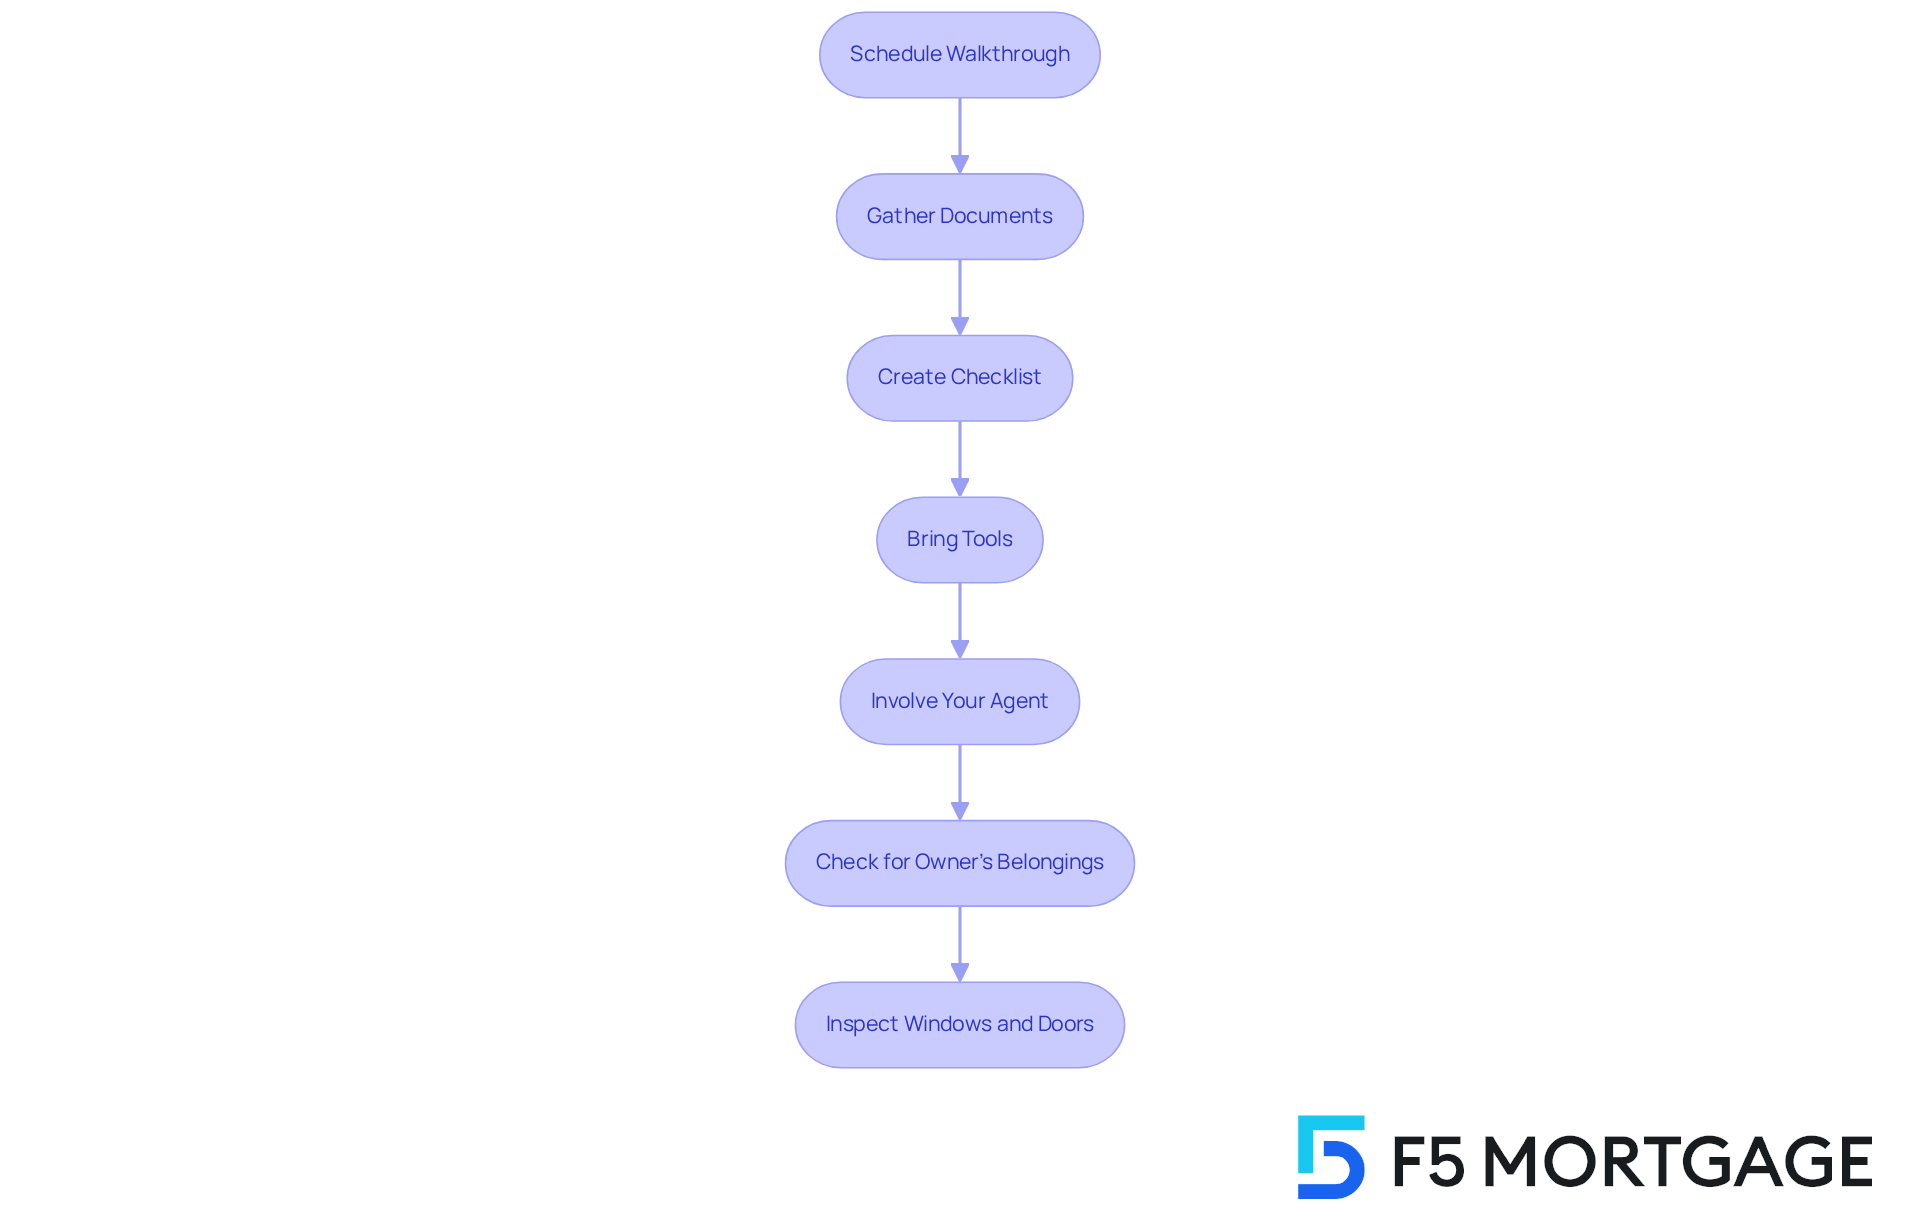
Preparing for your final walkthrough before closing can feel overwhelming, but we’re here to support you every step of the way. To ensure a smooth experience, follow these essential steps:
Schedule the final walkthrough before closing: Coordinate with your real estate agent and the property owner to set a date and time for the final walkthrough before closing, ideally 24-48 hours prior. This timing allows you to assess the home in its final state, ensuring it meets your expectations before purchase.
Gather Necessary Documents: Bring along your purchase agreement, inspection reports, the seller’s disclosure form, and any communication regarding fixes or inclusions. Having these documents will help confirm that all agreed-upon conditions are satisfied, especially if you requested modifications or improvements during negotiations.
Create a Checklist: Develop a detailed checklist of items to inspect, including major systems (HVAC, plumbing, electrical), appliances, and any agreed-upon repairs. This checklist is vital for ensuring that nothing is missed during your review. Remember, walkthroughs can take anywhere from 15 minutes for smaller properties to over an hour for larger ones.
Bring Tools: Consider bringing a flashlight, a notepad, and a camera to document any issues you discover during the inspection. These tools will assist you in thoroughly inspecting the property and keeping a record of any concerns.
Involve Your Agent: If possible, have your real estate agent accompany you to provide professional insight and assistance during the inspection. Their expertise can help identify potential issues and ensure that you are thorough in your evaluation. As one real estate agent remarked, ‘The final walkthrough before closing is the purchaser’s last opportunity to verify the property’s state.’
Check for Owner’s Belongings: Ensure that all personal items left by the owner are removed and that the home is ‘broom clean.’ This includes checking all rooms, closets, and outdoor areas.
Inspect Windows and Doors: Verify that all windows and doors lock and unlock properly, as this is a critical aspect of ensuring the home’s security.
By following these steps, you will be well-equipped to carry out a comprehensive and efficient final walkthrough before closing. This will help ensure that the home is in the anticipated state and that all agreed-upon fixes have been accomplished. Remember, if the seller has consented to do maintenance, it’s crucial to verify that these have been completed before closing, as your lender will provide a Loan Estimate and a Closing Disclosure outlining your total costs.
Inspect Key Areas: Your Final Walkthrough Checklist
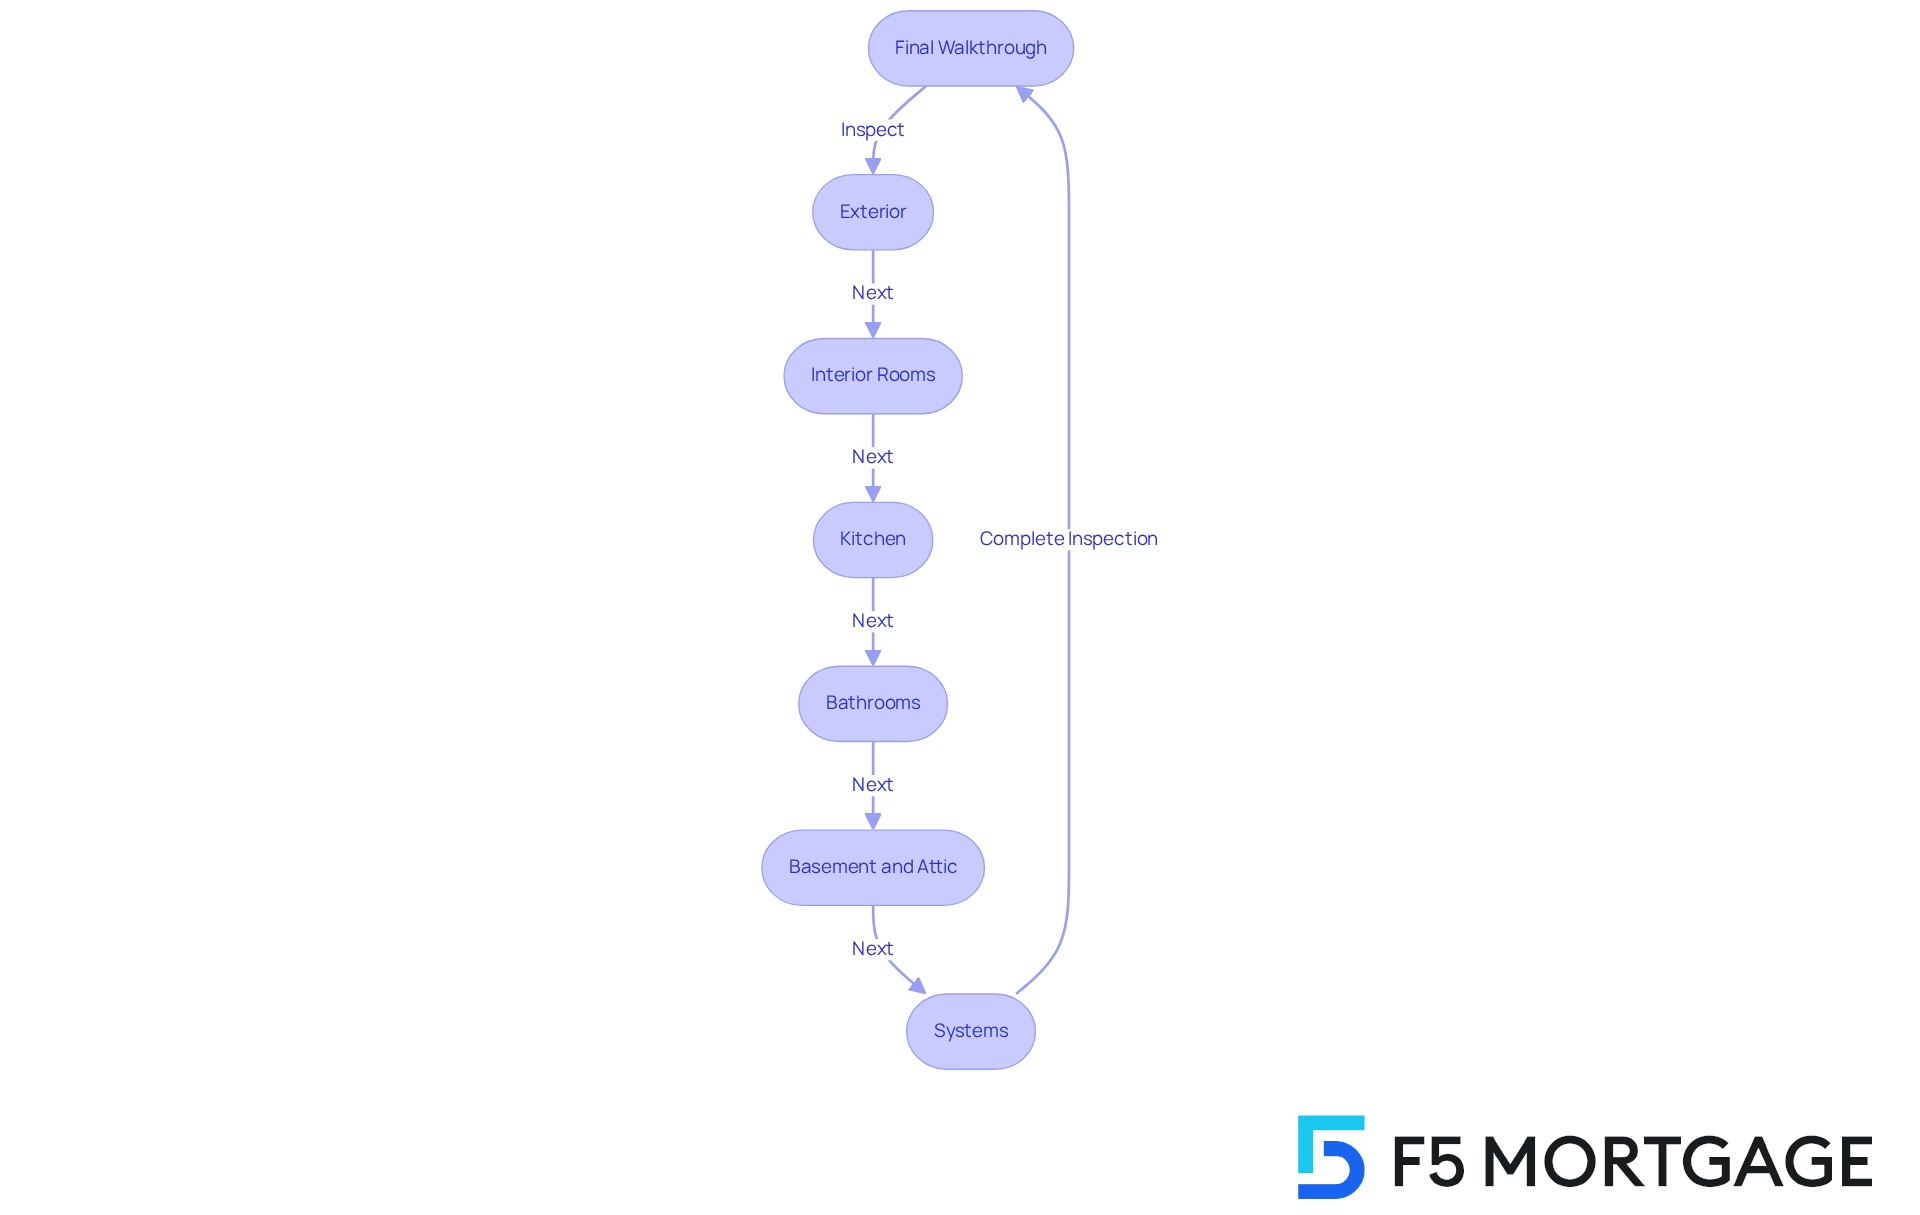
As you approach your final walkthrough, it’s essential to focus on inspecting some key areas to ensure the property meets your expectations. We understand how significant this moment is for you.
- Exterior: Take a close look at the roof, siding, windows, and doors for any signs of damage or wear. Are there broken shingles or cracked tiles? It’s also important to ensure gutters are properly installed to direct water away from the foundation, protecting your future home.
- Interior Rooms: Walk through each room and inspect for any damage to walls, floors, and ceilings. Confirm that all light fixtures and outlets are functioning by testing each outlet with a charger; this small step can save you from future inconveniences.
- Kitchen: Test all appliances, including the oven, dishwasher, and refrigerator, to ensure they are in working order. Don’t forget to check cabinets and countertops for any signs of damage that might affect your culinary experience.
- Bathrooms: Inspect sinks, toilets, and showers for leaks or issues. Ensure that all fixtures are functioning properly, and check for mold in moist areas, as we know how crucial a healthy environment is for your family.
- Basement and Attic: Look for signs of water damage, mold, or pests. It’s vital to ensure that any promised repairs have been completed, as mold can develop quickly in uninhabited spaces, and we want to protect your new home.
- Systems: Test the heating, cooling, plumbing, and electrical systems to ensure they are operational. This includes flushing toilets and running water in sinks and showers to check for proper function and water pressure.
By following this checklist, you can systematically assess the property and address any concerns during the final walkthrough before closing. Remember, surveys show that almost 46% of purchasers utilize home inspection reports to negotiate price decreases. This highlights the necessity of being meticulous during this last inspection. We’re here to support you every step of the way.
Address Issues: What to Do If Problems Arise
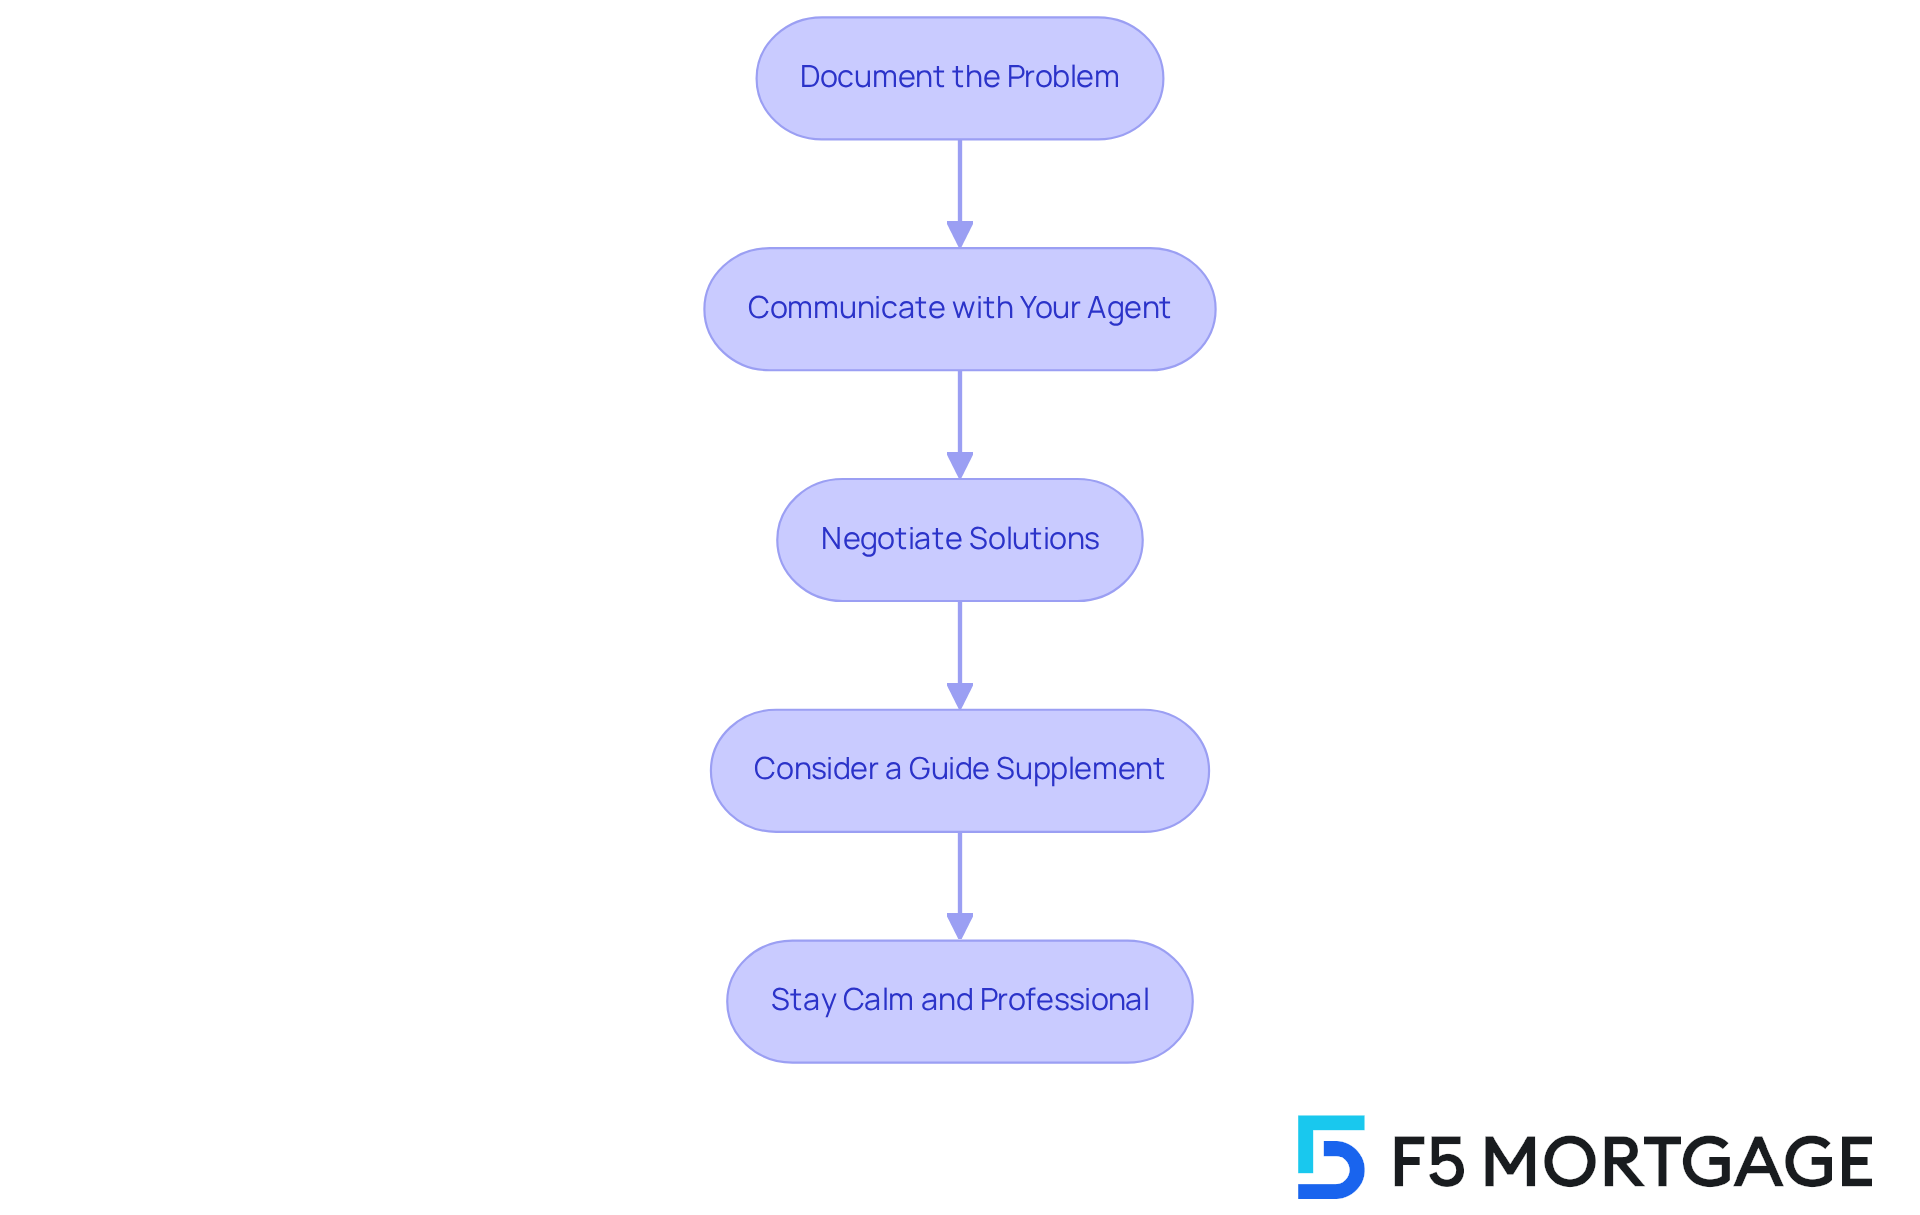
If you encounter issues during the final walkthrough before closing, it’s important to know you’re not alone. Here are some essential steps to address them effectively:
- Document the Problem: Capture photos and detailed notes of any issues you find, including their location and nature. This documentation will be crucial for negotiations.
- Communicate with Your Agent: Inform your real estate agent immediately about the issues. Their expertise will be invaluable in addressing these concerns with the vendor.
- Negotiate Solutions: Depending on the severity of the issues, you may discuss with the seller for fixes, upgrades (like installing new carpet), a price reduction, or credits at closing to cover the costs of resolving the problems. Did you know that around 1 in 20 cases during a final walkthrough before closing uncover issues serious enough to warrant negotiations?
- Consider a Guide Supplement: If significant issues arise, drafting a guide supplement to your purchase agreement can formalize the agreed-upon repairs or concessions, ensuring clarity for both parties.
- Stay Calm and Professional: Approach the situation with a level head. Maintaining a professional demeanor can facilitate smoother negotiations and help preserve a positive relationship with the seller.
By knowing how to address issues effectively, you can ensure that your final walkthrough before closing leads to a successful closing and a positive home buying experience. Remember, most issues can be resolved through negotiation, allowing you to move forward confidently into homeownership. Additionally, we know how challenging this can be, so keep in mind the importance of reviewing your Loan Estimate and Closing Disclosure, as these documents outline the fees and costs associated with your loan.
Conclusion
The final walkthrough before closing is a pivotal moment in the home-buying process. It offers a vital opportunity for buyers to ensure that their new home meets expectations and is in the agreed-upon condition. This crucial step not only verifies the state of the home but also confirms that all inclusions and repairs have been addressed. This reinforces the buyer’s confidence in their investment.
We understand how significant this process can be. Throughout the article, we highlighted key steps for a successful final walkthrough. These include:
- Scheduling the inspection
- Gathering necessary documents
- Creating a comprehensive checklist
- Thoroughly inspecting critical areas of the home
Additionally, we discussed strategies for addressing any issues that may arise during the walkthrough, emphasizing the importance of documentation and professional communication with real estate agents.
Ultimately, the final walkthrough serves as a safeguard for buyers, ensuring that their new home is ready for them to move in. By approaching this process with diligence and preparation, buyers can navigate potential challenges effectively. Embracing this final opportunity not only protects the investment but also fosters peace of mind. We know how challenging this can be, and we’re here to support you every step of the way, allowing you to embark on your new journey with confidence.
Frequently Asked Questions
What is the purpose of a final walkthrough before closing on a property?
The final walkthrough allows buyers to evaluate the property before finalizing the agreement, ensuring it is in the same condition as when the offer was made, confirming inclusions, evaluating any agreed-upon fixes, and understanding the layout of the new home.
When is the final walkthrough typically scheduled?
The final walkthrough is usually scheduled within 24 hours of the closing date.
What should buyers verify during the final walkthrough?
Buyers should verify the condition of the home, confirm that all agreed-upon items (such as appliances or fixtures) are present, and check that any promised repairs or improvements have been completed satisfactorily.
How can buyers ensure that agreed-upon fixes have been carried out?
Buyers can ask for documentation, including the vendor’s disclosure and maintenance receipts, to confirm that all agreed-upon fixes have been completed correctly.
Is it necessary for the home to be completely vacant during the final walkthrough?
It is not required for the home to be entirely vacant, but it is advisable for sellers to have completely relocated to reduce the chance of overlooking any issues.
Why is the final walkthrough considered an essential phase in the home purchasing process?
The final walkthrough is essential as it protects the buyer’s investment, provides peace of mind, and confirms that the home meets the buyer’s expectations before they finalize the purchase.


